
What is Revit Massing?
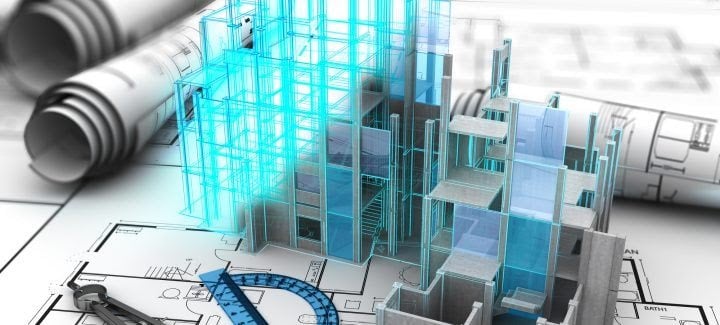
Revit massing is the application of basic, schematic 3D shapes that reflect the volumetric profile of an idea or suggested building. It enables designers to investigate shape, orientation, site relationships, and building purpose without the weight of architectural detail at an early stage.
Essentially, a massing model in Revit is a graphic placeholder—a conceptual 3D sketch—utilized by architects to try out and trial numerous design alternatives at speed. The shapes can be manipulated, rotated, stretched, or overlayed to determine how a building might engage with the context.
Key Benefits:
- Immediate visualization of volume, height, and direction
- Assess solar studies and shadows
- Experiment with several different design alternatives with ease
- Integrate site components with Revit site massing
- Transition conceptual masses to building components such as walls, roofs, and floors with ease
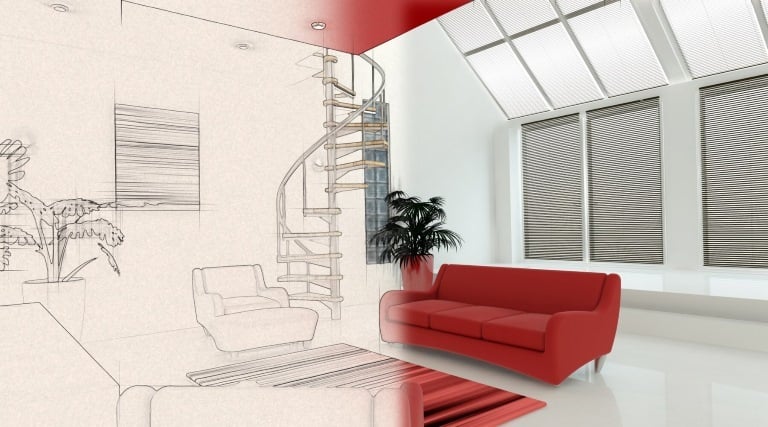
From Sketch to Digital Form – Building and Editing Mass Models

Transforming a conceptual design from a freehand sketch on paper to digital form in Revit begins with controlling basic massing tools such as extrusions, blends, revolvers, sweeps, and voids.
How to Create a Mass in Revit
-
Turn on Massing: Go to the "Massing & Site" tab and hit "Show Mass".
-
In-Place Mass: Click on "In-Place Mass" to model your project immediately.
-
Draw 2D Profiles: Draw base profiles using lines, arcs, or splines.
-
Form Creation: Employ tools such as Extrude, Blend, or Revolve to convert sketches into 3D masses.
-
Modify and Sculpt: Employ voids, modify profiles, or stretch faces to reshape forms further.
Any form that you make can be manipulated in 3D space, so you have complete control over proportions and aesthetics. This quick iteration on massing models directly impacts architectural creativity and decision-making.
Advanced Massing Features
Whereas fundamental features are required for beginners, Revit massing models also accommodate advanced features that advance conceptual modeling.
1. Revit Mass Floors
One of the most important instruments for preliminary feasibility assessments, mass floors enable you to add floors to massing models. This enables them to calculate:
- Floor areas
- Floor-to-floor heights
- Area per floor for use and zoning
2. Revit Conceptual Mass with Parametric Controls
Parametric modelling enables you to insert intelligence into your masses. For instance:
- Use parameters to control the height, width, or angle of parts
- Use equations to correlate building height with site coverage
- Change forms dynamically based on project needs
3. Revit Site Massing
Insertion of masses on topography is critical to real-world study. Revit enables you to:
- Position masses on sloping terrain
- Cut and fill volumes
- Investigate how built forms respond to natural site profiles
4. Solar and Energy Analysis
With the right plugins or exporting to Insight 360, your Revit conceptual mass can be utilized to model:
- Solar heat gain
- Daylight penetration
- Energy performance
Ready to bridge the gap between proficiency and true expertise?
Learn how Novatr solves the proficiency vs expertise struggle and take the next step in your architecture journey.
How to Complete Your First Revit Massing for Whole Projects

If you are new to this, this is a starter Revit architecture massing guide that can assist you to create your very first whole conceptual model:
Step-by-Step Process:
-
Open Revit and begin a new project.
-
Enable "Massing & Site" and choose "In-Place Mass."\
-
Assign a name to your mass (for instance, "Tower Design").
-
Create the footprint using the drawing tools.
-
Use extrusion to add height.
-
Use voids or blends to add your shape to define it.
-
Use "Create Mass Floors" by level.
-
Test floor areas using the Schedule tool.
-
Apply light and shadow parameters to experiment with form.
-
Export to 3D view or insert into detailed model components.
After your conceptual form has been signed off, you can realize it as real walls, roofs, and curtain systems, making Revit massing a fundamental component of the entire architectural process.
To stay aligned with industry needs, we constantly update our offerings. Here’s why we upgraded our course.
How Novatr Helps – Training BIM with Real-time Revit Massing Projects
Learning the software is one thing—but implementing it in actual scenarios with the guidance of industry experts is something else entirely.
Novatr's Building Information Modeling Professional Course for Architects V 2.0 is crafted to help you master Revit and massing in Revit architecture from a project-based, hands-on approach. As a working professional or a student, the course provides:
- Systematic Revit training, from basic tools to advanced massing
- Actual architectural project work, not exercises in a vacuum from the real world
- Guidance by BIM experts with international experience
- Hands-on practice using Revit massing models, floors, and site integration
- Introduction to other key BIM tools like Navisworks, Dynamo, and Enscape
At the end of the course, you will be ready to use Revit conceptual massing to sell design ideas, contribute to firm-level projects, and integrate your skills into BIM workflows.
Novatr doesn't simply show you how to mass in Revit—it makes you think like a BIM-forward architect, combining design thinking and digital competence.
TABLE OF CONTENTS