Navisworks Download Guide: Benefits, File Types & Shortcuts 2025
Table of Contents
Getting started with Navisworks is essential for architectural professionals looking to ease and simplify project coordination and model review processes. This article will guide you through how to download Navisworks and install it for optimal use in your projects. So, if you are new to this software, these steps will help you get set up quickly.
But before we explore the Navisworks installation process, let’s first examine more about the software, Navisworks benefits, and understand its purpose in improving project collaboration and 3D model visualisation.
What is Navisworks?
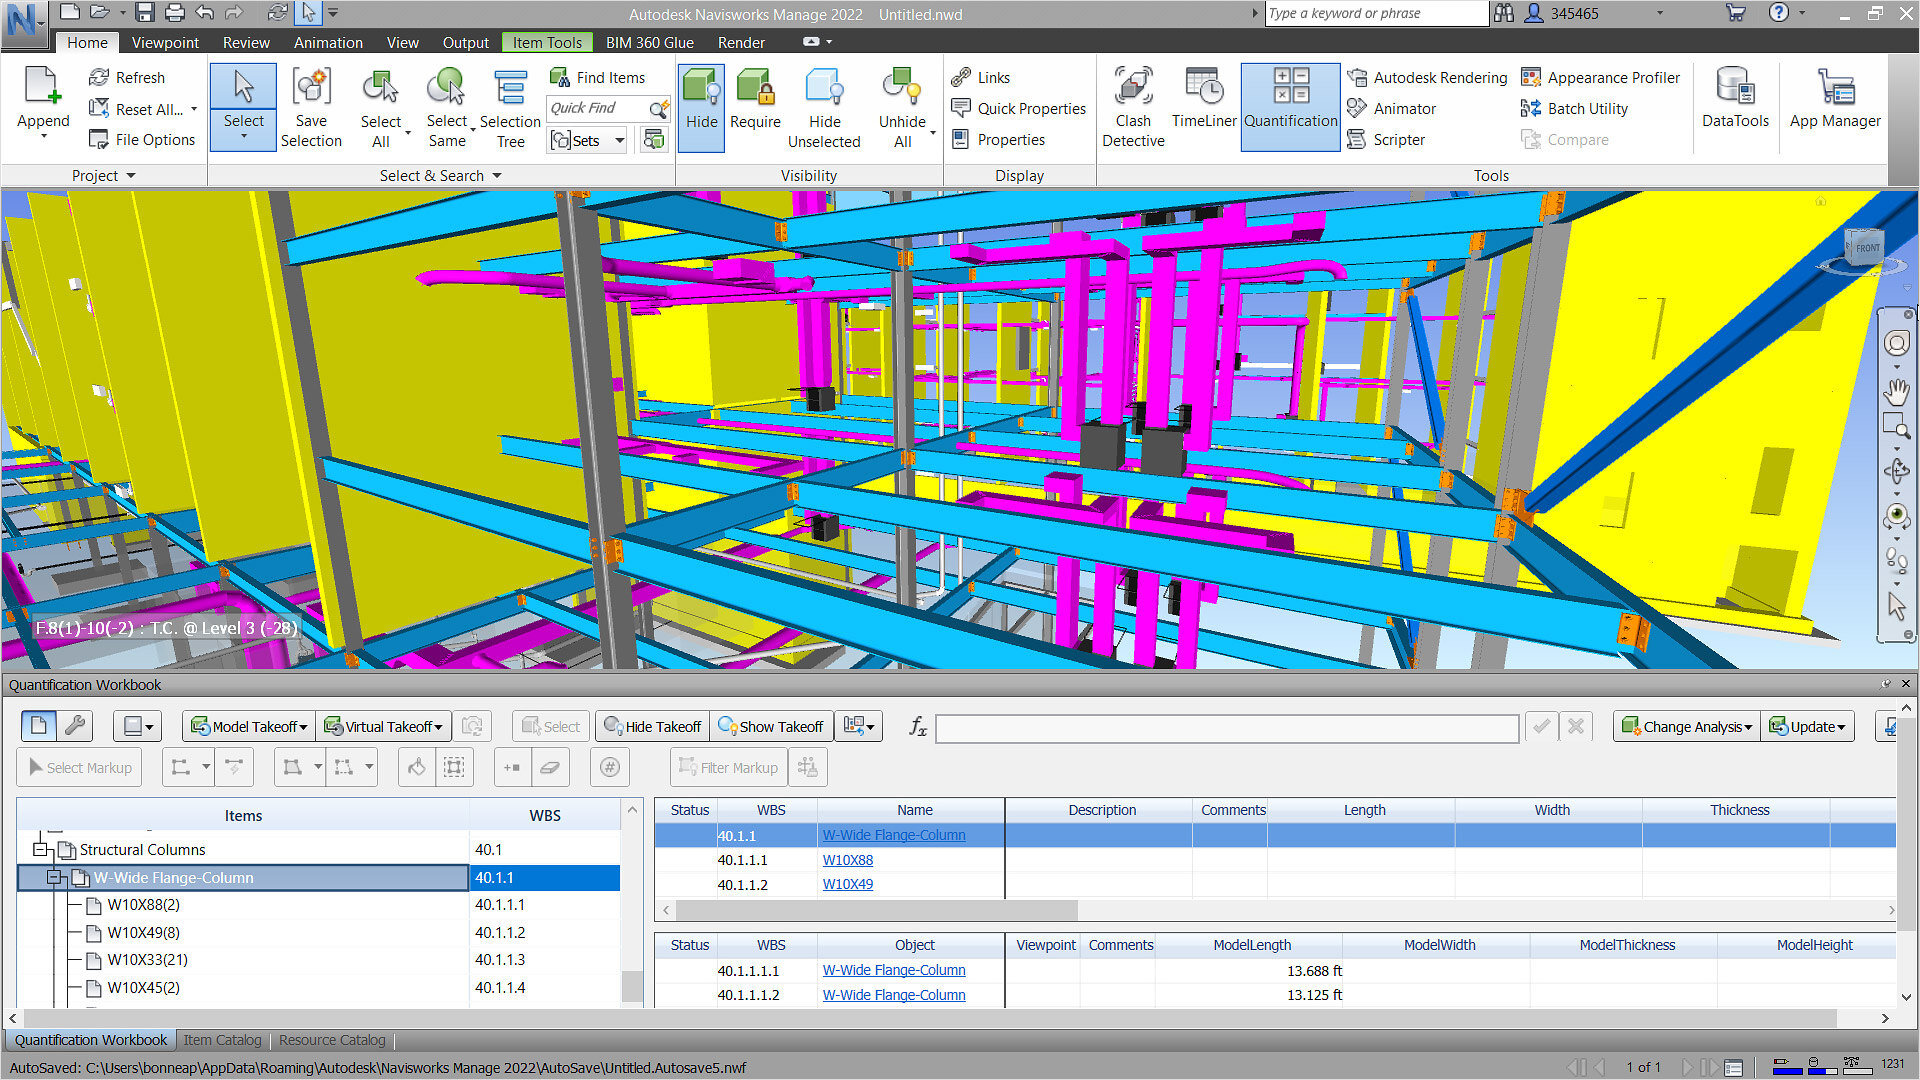
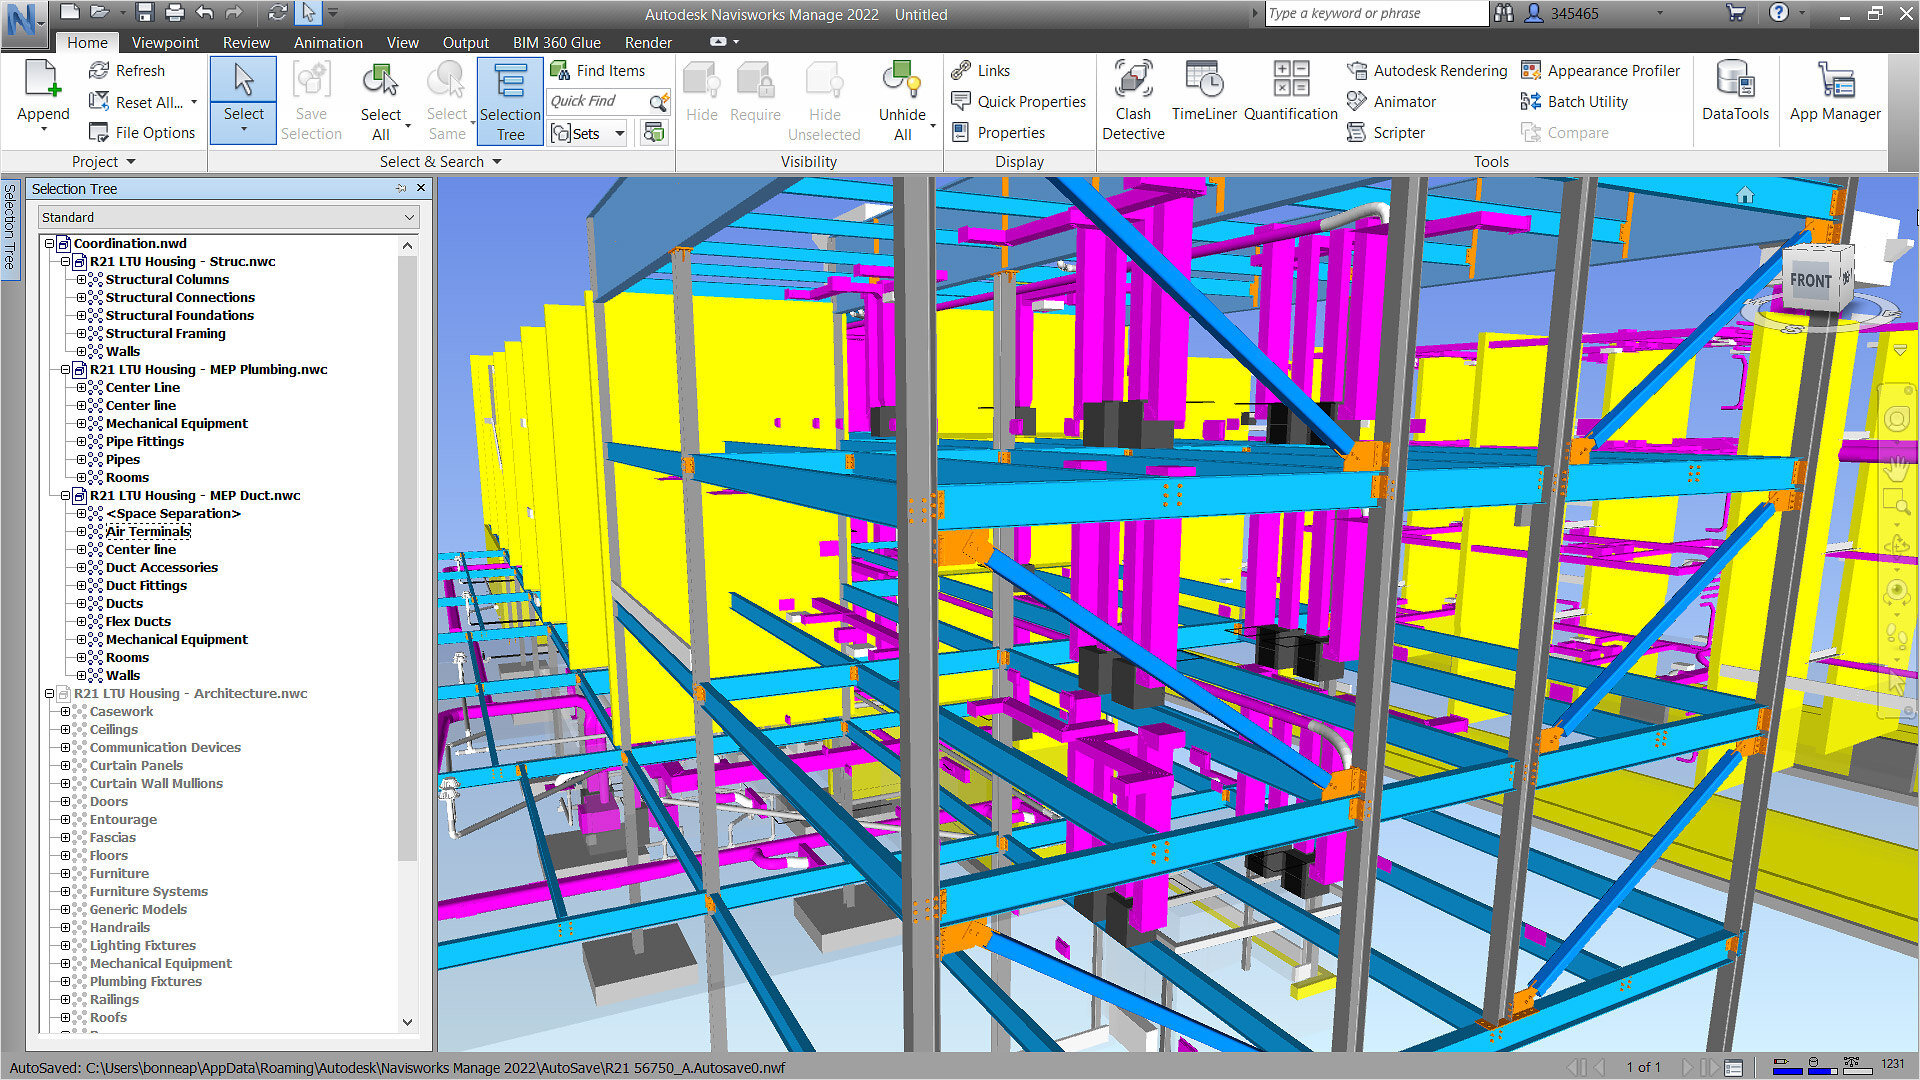
Navisworks is a project review software widely used in the architecture, engineering, and construction industries. It helps bring together 3D models from different design tools, allowing teams to coordinate, review, and manage projects more effectively. With Navisworks Manage, you can run clash detection to identify conflicts between elements, while Navisworks Simulate helps visualise and simulate project workflows.
Navisworks supports various file formats, making it easier to collaborate with different software tools. You can also use Navisworks Freedom as a free viewer for navigating and viewing project files. Whether you are coordinating teams or visualising designs, Navisworks is a key tool for improving collaboration and project management.
Purposes of Using Navisworks
Navisworks is an essential construction tool that boosts the productivity of any architectural project. It enables all members to coordinate and work on construction projects from various file types and sources. Here are some of the key purposes of using Navisworks.
1. Clash Detection and Conflict Resolution
One of the most powerful features of Navisworks Manage is its ability to run clash detection, which helps identify and resolve conflicts between different building systems. You can easily learn how to run clash detection in Navisworks to spot clashes between structural, mechanical, and electrical elements. This process saves time and money by detecting potential problems before construction begins. Navisworks generates detailed clash reports, which you can share with team members for resolution. If you need to export these, you can learn how to export clash reports in Navisworks, making it easier to communicate issues to your team.
2. Model Integration and Coordination
Navisworks is widely used to integrate models from different software platforms into one cohesive project. It supports various Navisworks file types, such as .NWD, .NWF, and .DWG, ensuring smooth collaboration between teams using different design tools. This makes it easy to consolidate models and manage all project data in one place. Once you know how to download Navisworks, you can seamlessly combine 3D models from Revit, AutoCAD, and other tools into a single environment. This integrated approach helps reduce the chances of errors and improves communication among stakeholders.
3. Project Review and Collaboration
Navisworks facilitates collaborative project review. By using the Navisworks file viewer or Navisworks Freedom, team members and stakeholders can easily open project models, review progress, and provide feedback without needing full design software. If you are new to the tool, it is helpful to learn how to open Navisworks files and how to navigate in Navisworks effectively. The ability to view and review models without altering the original design ensures that all stakeholders stay informed and involved throughout the project lifecycle.
4. Visualisation and Simulation
Navisworks Simulate offers advanced visualisation and simulation tools. It enables users to create 4D simulations by combining 3D models with construction schedules, helping to visualise the sequence of activities over time. This provides an accurate representation of how the project will progress, helping stakeholders understand timelines and potential risks. For presentations, it is vital to know how to render in Navisworks to produce high-quality visuals. These renderings can help stakeholders better understand the design, materials, and overall look of the project, contributing to smoother client approvals.
5. Exporting and Sharing Reports
In addition to managing models, Navisworks allows you to export data and reports. Learning how to export clash reports in Navisworks ensures that you can share crucial information with your team, facilitating quick decision-making. Navisworks also supports exporting various file types, enabling you to share project data with other stakeholders who might be using different software platforms. This ensures smooth communication and better overall project coordination.

Step-By-Step Process to Download Navisworks
Downloading Navisworks is simple if you follow the right steps. Whether you want to use it for clash detection or just want to boost the team’s productivity, here is a detailed step on how to download Navisworks and get started with it.
1. Visit the Official Autodesk Website
To start, you must first visit the official website of Autodesk. Here, you will find various versions like Navisworks Manage and Navisworks Simulate. Choose the version that best fits your project requirements.
2. Choose the Right Version
Decide between Navisworks Manage and Navisworks Simulate based on your project needs. Navisworks Manage is ideal for running clash detection and coordination, while Simulate offers visualisation and simulation features. Both support multiple Navisworks file types like .NWD, .NWF, and more. This is important if you want to understand what Navisworks is used for in different stages of your projects.
3. Create or Sign In to Your Autodesk Account
You will need an Autodesk account to download Navisworks. If you do not have one, create it; it is free and simple. Once logged in, you can proceed with the download.
4. Download and Install the Software
Click the download button and wait for the setup file to complete. Once downloaded, open the file to begin installation. Follow the on-screen instructions carefully. Pay attention to where the software is installed, as you may need to locate it later. This is the first step in understanding how to open Navisworks files and begin your project work.
5. Access Navisworks Freedom for File Viewing
If you need a free option to view Navisworks files without editing, Navisworks Freedom is a great choice. It allows you to act as a Navisworks file viewer, enabling team members to review and navigate models without altering them. Learning how to view Navisworks files using Freedom is helpful for collaborating with stakeholders who might not need editing access.
6. Start with the Basics: How to Open and View Files
After installation, open Navisworks and begin exploring. Learn how to navigate in Navisworks using the intuitive interface, or explore Navisworks keyboard shortcuts to speed up your workflow. This will help you efficiently view different parts of your model, understand how to see levels in Navisworks, and utilise coordinates in Navisworks for accurate measurements.
7. Utilise Advanced Features
As you get familiar with Navisworks, try using features like how to render in Navisworks for high-quality visualisations. Rendering enhances presentations, making it easier for stakeholders to understand your project. You can also explore how to run clash detection in Navisworks to identify any potential conflicts early on.
8. Exporting and Reporting
One of the Navisworks benefits is the ability to export detailed reports. Learn how to export clash reports in Navisworks to share findings with your team. This ensures everyone is on the same page and helps maintain project accuracy and coordination.
Different Types of Files in Navisworks
A key aspect of using Navisworks is understanding the various Navisworks file types it supports, each serving a unique function in project management and collaboration. Here is a breakdown of the main file types used in Navisworks and their purposes.
1. NWD Files (Navisworks Document)
NWD files are the most commonly used in Navisworks. They are self-contained files that store a snapshot of your project, including all the model data, textures, and any added notes. These files are perfect for sharing with others who may not have access to editing tools. You can open and view NWD files using the Navisworks file viewer, such as Navisworks Freedom, which allows stakeholders to review the project without making any changes.
2. NWF Files (Navisworks File Set)
NWF files are essentially references to live models rather than storing all the data. When working with an NWF file, the original models (from Revit, AutoCAD, etc.) remain linked and can be updated. This is particularly useful in a collaborative environment where you need the most up-to-date versions of models. As the NWF file references live models, it helps you review the project without creating large, cumbersome files.
3. DWG and DXF Files
Navisworks also supports traditional CAD file formats like DWG and DXF. These files, commonly used in AutoCAD, can be imported into Navisworks for visualisation and coordination. Understanding how to navigate in Navisworks with DWG files allows users to integrate these models with other project data, ensuring smooth collaboration across platforms.
4. Revit Files (RVT)
For those working in Revit, you can import RVT files directly into Navisworks for detailed project coordination and clash detection. Learning how to run clash detection in Navisworks with RVT files is an essential step for ensuring that all building systems (mechanical, electrical, etc.) are in alignment and do not conflict.
5. FBX Files
FBX is a file format used for 3D models and animations. Navisworks allows you to import and export FBX files, which is especially helpful for rendering and animation workflows. If you need to know how to render in Navisworks, using FBX files is a good option because they are highly compatible with various rendering and visualisation tools.

How to Save Different Types of Files in Navisworks
Navisworks offers a versatile platform that allows users to manage, view, and save various 3D models and project files. Knowing how to save different file types ensures that your models are compatible with other software and accessible to all team members.
1. Saving NWD Files (Navisworks Document Files)
The NWD format is the most common file type used in Navisworks. It saves a complete snapshot of your project, including all model data, annotations, and added elements, making it ideal for final project reviews. To save your project as an NWD file:
- Go to File > Save As, then select the NWD format. This saves the project as a standalone file that can be easily viewed using Navisworks Freedom, the free version of the software.
2. Saving NWF Files (Navisworks File Set)
Unlike NWD files, NWF files reference external files instead of storing all the data. NWF is ideal for ongoing projects where you frequently update linked models. To save as an NWF file:
- Select File > Save As, and choose the NWF option. This allows you to keep your references to live models, such as those in Revit or AutoCAD, so the files can be continuously updated without creating large, data-heavy files.
3. Saving NWC Files (Navisworks Cache Files)
NWC files are cache files that Navisworks automatically generates when opening a new model. They help reduce loading times for large models. If you want to save the project in NWC format:
- Open the model and let Navisworks generate the cache file. You can manually export it as an NWC file by choosing Export > Cache.
4. Saving Files for Clash Detection
When running clash detection in Navisworks Manage, saving the clash results is crucial for project coordination. You can save a clash test and report by:
- Running the clash detection test.
- Clicking Export Report, then selecting the desired format (such as HTML or XML).
5. Saving Rendered Models
If you need to know how to render in Navisworks, you will need to save the rendered model in a compatible format. After rendering:
- Go to File > Export > Image to save the rendering as a high-resolution image. You can also export animations if your project includes time-based simulations from Navisworks Simulate.

Keyboard Shortcuts for Navisworks
Navisworks is a powerful tool used in architecture, engineering, and construction for model integration, clash detection, and project coordination. Using Navisworks keyboard shortcuts can greatly improve your efficiency by speeding up navigation, editing, and project management tasks.
1. Navigation Shortcuts
One of the most common tasks in Navisworks is navigating around the model to inspect elements. Learning how to quickly move around with Navisworks keyboard shortcuts is essential for smoother project reviews.
- Pan: Press and hold the middle mouse button.
- Orbit: Press and hold Shift and the middle mouse button.
- Zoom: Scroll the mouse wheel up or down.
- Fit: Press F to fit the entire model in the viewport.
These navigation shortcuts can help you efficiently explore your model and ensure you're able to review every angle with ease.
2. Clash Detection Shortcuts
If you are using Navisworks Manage to run clash detection, these shortcuts can help you speed up the process:
- Open Clash Detective: Press Ctrl + 1 to open the clash detective tool and start identifying conflicts in your project.
- Run Clash Test: Once the clash detection is set up, press Enter to run the test.
- Export Clash Report: Learn how to export clash reports in Navisworks by pressing Ctrl + E to generate a report that you can share with your team.
Clash detection is a critical feature in Navisworks for avoiding costly errors, and these shortcuts will make the process more efficient.
3. Selection Shortcuts
Selecting objects and elements in your model is another frequent task. These shortcuts will make selecting and managing objects faster:
- Select All: Press Ctrl + A to select everything in the model.
- Deselect All: Press Esc to clear all selections.
- Hide Selection: Press H to hide the selected items in the model.
- Show All: Press Ctrl + Shift + H to reveal all hidden items.
These shortcuts make it easier to focus on specific elements in large models, improving your ability to isolate key components quickly.
4. File and Model Management Shortcuts
Managing your models and files in Navisworks can be faster when you know the right shortcuts. Whether you're opening models or saving your work, these commands will make your workflow smoother:
- Open File: Press Ctrl + O to quickly access and open any Navisworks file types.
- Save File: Press Ctrl + S to save your project at any point.
- Close File: Press Ctrl + W to close the current project.
Knowing how to open Navisworks files and save your work with these shortcuts makes working with models smoother.
5. Rendering Shortcuts
For users who frequently need to create visuals, understanding how to render in Navisworks using shortcuts can save a lot of time:
- Render View: Press R to start rendering the current view.
- Capture Screen: Press Ctrl + Shift + S to capture a screenshot of the model.
Rendering high-quality visuals is important for presentations, and these shortcuts make the process faster and more intuitive.
6. Viewing and Reviewing Shortcuts
For general viewing and reviewing tasks, these Navisworks keyboard shortcuts will enhance your efficiency:
- Measure: Press M to open the measure tool and take precise measurements in the model.
- Switch to Full Screen: Press F11 to view your model in full screen, which can be particularly useful during presentations.
- Toggle Grid: Press Ctrl + G to show or hide the grid.
7. Model Review and Collaboration Shortcuts
If you are using Navisworks Freedom or working in a collaborative environment, these shortcuts will improve your project reviews:
- Markup Tool: Press Ctrl + M to add comments or markups directly onto the model.
- Review Panel: Press Ctrl + R to open the review panel and view notes or changes made by other team members.
These tools help improve communication and ensure that feedback is incorporated efficiently.
8. Level and Coordinate Management Shortcuts
In large projects, knowing how to see levels in Navisworks and manage coordinates is crucial. These shortcuts help you navigate complex models more easily:
- Move to Next Level: Press Page Up to move up one level in your project.
- Move to Previous Level: Press Page Down to go back a level.
- Toggle Coordinates Display: Press Ctrl + C to view the coordinates in Navisworks for the selected object.
These shortcuts make it easier to navigate multilevel models and ensure accuracy when working with specific areas of your project. This will not only boost productivity but also ease the designing process.
Conclusion
Getting started with Navisworks is a key step for professionals in architecture, engineering, and construction to streamline project coordination and model review. By following the steps outlined, you will be equipped to enhance your workflow and improve collaboration on projects. If you are an aspiring architect or BIM professional looking to elevate your skills, consider enrolling in the BIM Professional Course by Novatr. This comprehensive course will deepen your understanding of BIM technologies and give you hands-on experience with tools like Navisworks. So, what are you waiting for? If you want to learn more about the course, reach out to Novatr for more information!
For more insights and resources, visit Novatr's Resource Page, where you can find the latest trends, guides, and tips to stay ahead in the industry.


 Thanks for connecting!


.png)
